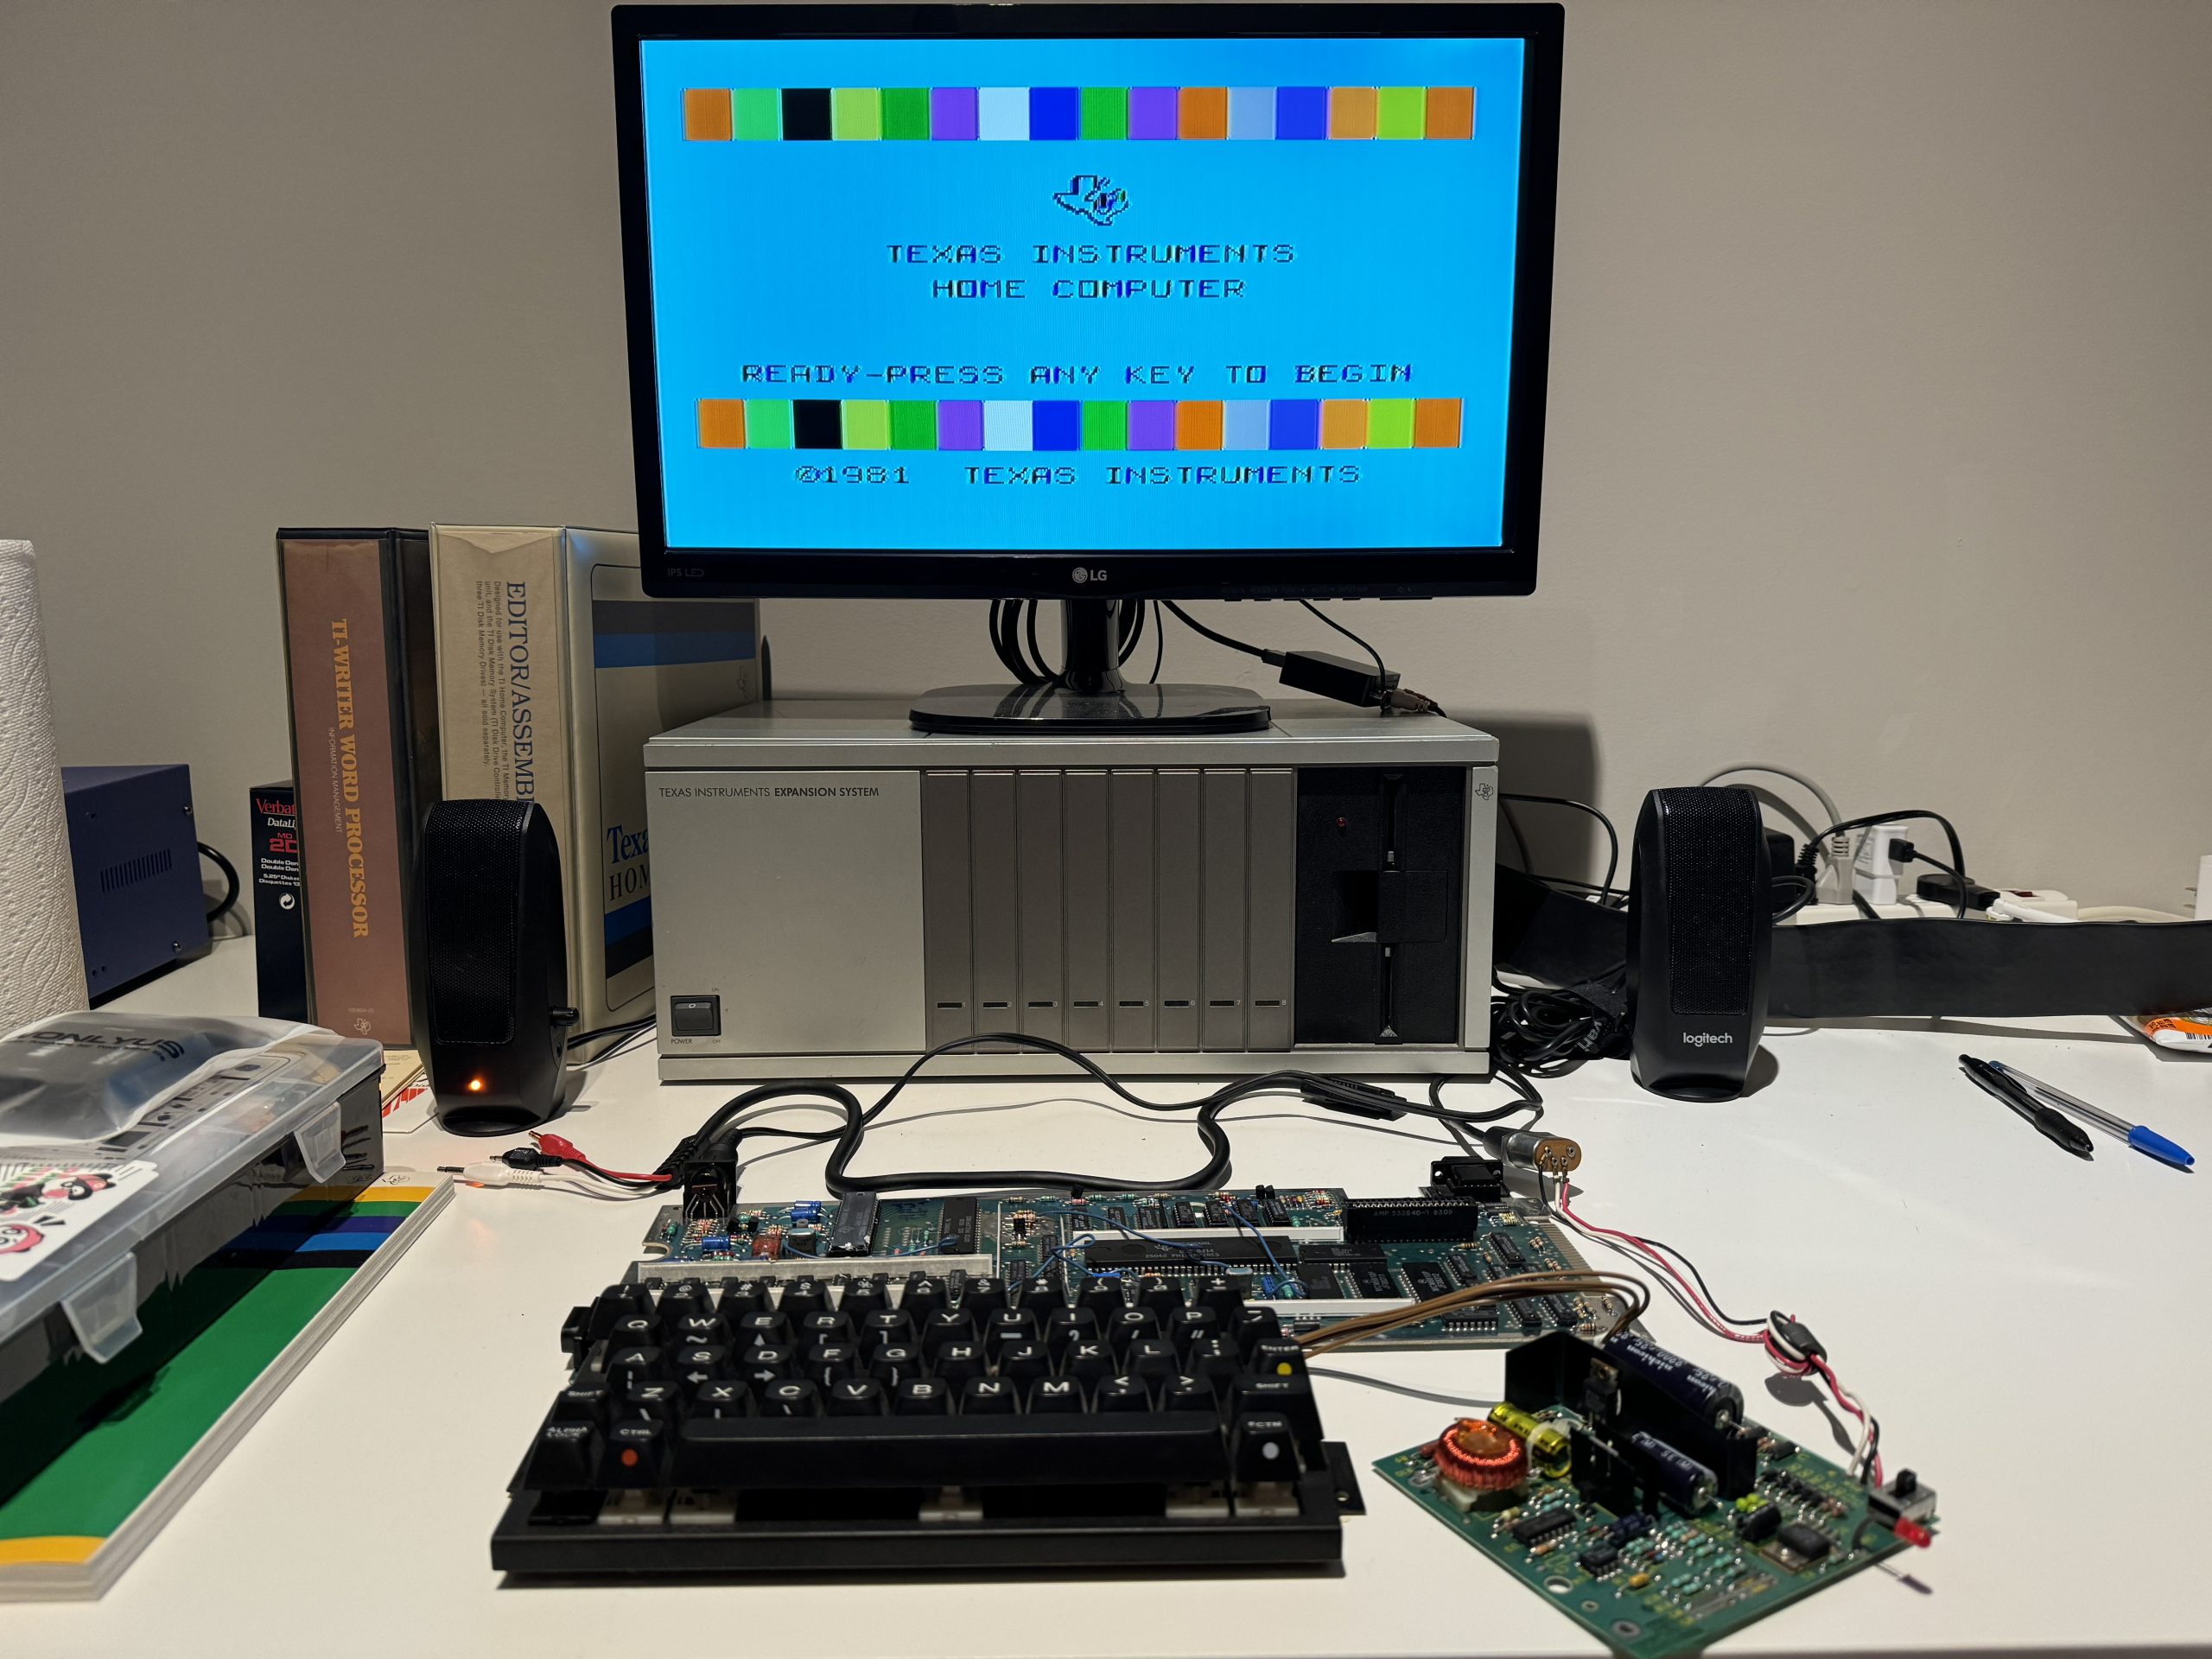
Released in 1981, the Texas Instruments TI-99/4A is a classic home computer that holds a special place in the history of personal computing. Known for its advanced design, impressive graphics capabilities (for its time), and wide range of software, the TI-99/4A was a popular choice among home computer enthusiasts and remains a beloved machine among retro computing fans today. More than 2.8 Million units were sold until it was discontinued in March 1984.
Key Features of the TI-99/4A
- Innovative Design:
– The TI-99/4A featured a sleek, durable design with a built-in keyboard, making it a stylish addition to any home setup.
– Its architecture was based on the TMS9900 microprocessor, which was the first 16-bit CPU used in a home computer, setting it apart from many contemporaries that relied on 8-bit processors. - Impressive Graphics and Sound:
– The TI-99/4A boasted superior graphics capabilities, with support for 16 colors and a resolution of 256×192 pixels. This allowed for more vibrant and detailed visuals in games and educational software.
– It also included a sound synthesizer that supported three-voice music and sound effects, enhancing the audio experience. - Expandable and Versatile:
– The TI-99/4A featured an expansion port, allowing users to connect various peripherals and expansion modules, such as the Peripheral Expansion Box (PEB), which provided additional slots for memory expansion, disk drives, and more.
– The system supported a wide range of cartridges and software, covering everything from educational programs and games to productivity tools and programming languages. - User-Friendly Software:
– Texas Instruments developed a variety of educational and entertainment software for the TI-99/4A, making it a versatile machine suitable for all ages.
– The built-in BASIC programming language provided an accessible entry point for users interested in learning to code, fostering an early interest in computer programming.
Updating its aging components
This article shows how to replace all the electrolytic capacitors in the console for:
- the motherboard
- the power supply
 The following guide is provided for informational purposes only. Any modifications, repairs, or upgrades you perform on your Texas Instruments TI-99/4A console are done at your own risk. While every effort has been made to ensure the accuracy of the instructions, I am not responsible for any damage to your console, personal injury, or loss of data that may occur during the capacitor replacement process. Working with electronics can be hazardous, especially when dealing with soldering equipment and electrical components. If you are not experienced or comfortable with these tasks, it is recommended that you seek professional assistance. Always ensure your device is powered off and disconnected from any power source before performing any repairs. Proceed with caution and follow all safety protocols.
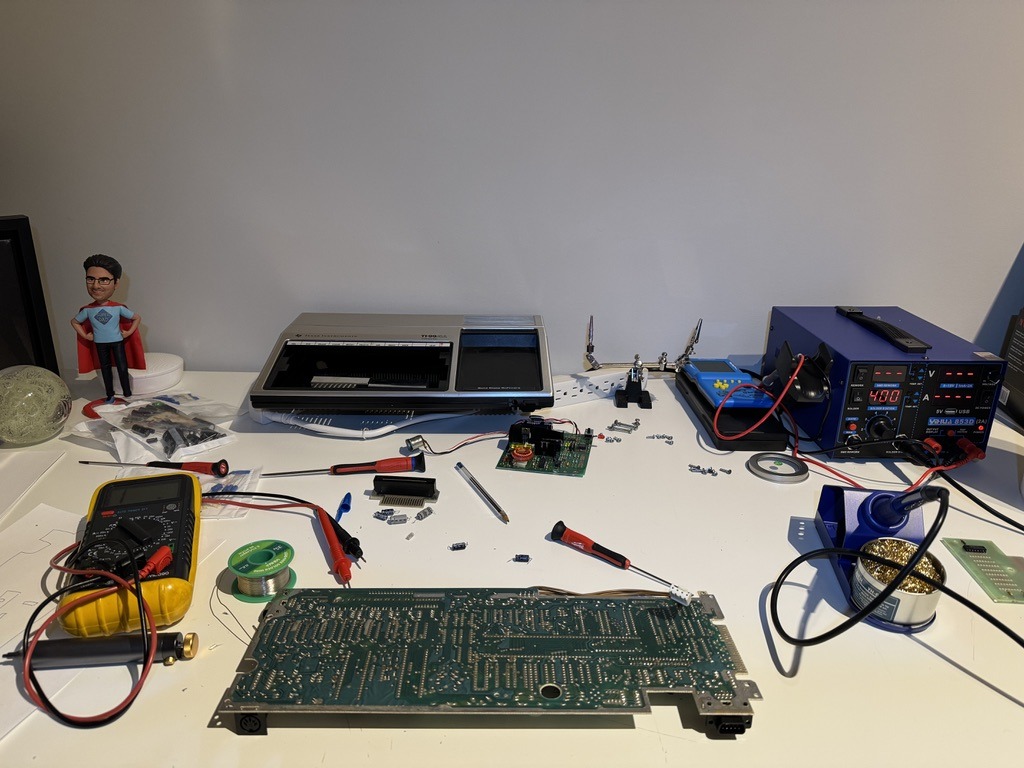
The first step is to disassemble the console. Follow the process HERE.
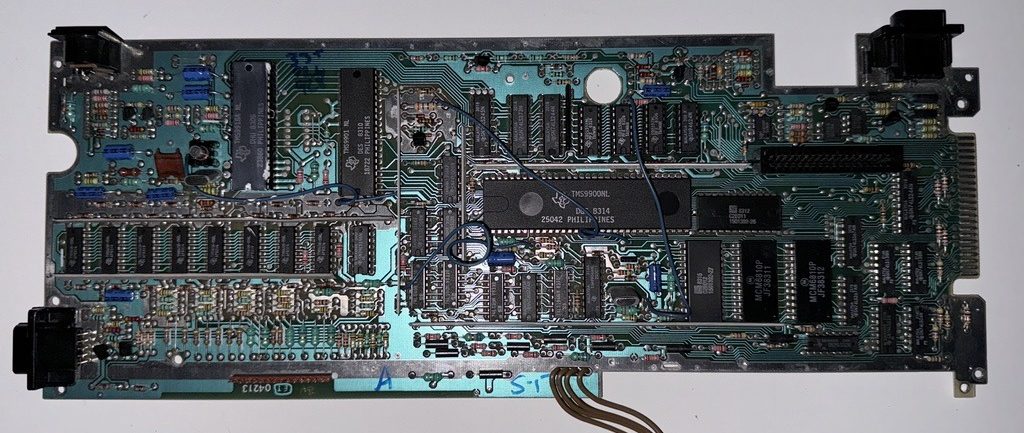
You should end up with just the keyboard, motherboard, and the power supply circuit boards:
First, we need to take care of the motherboard.
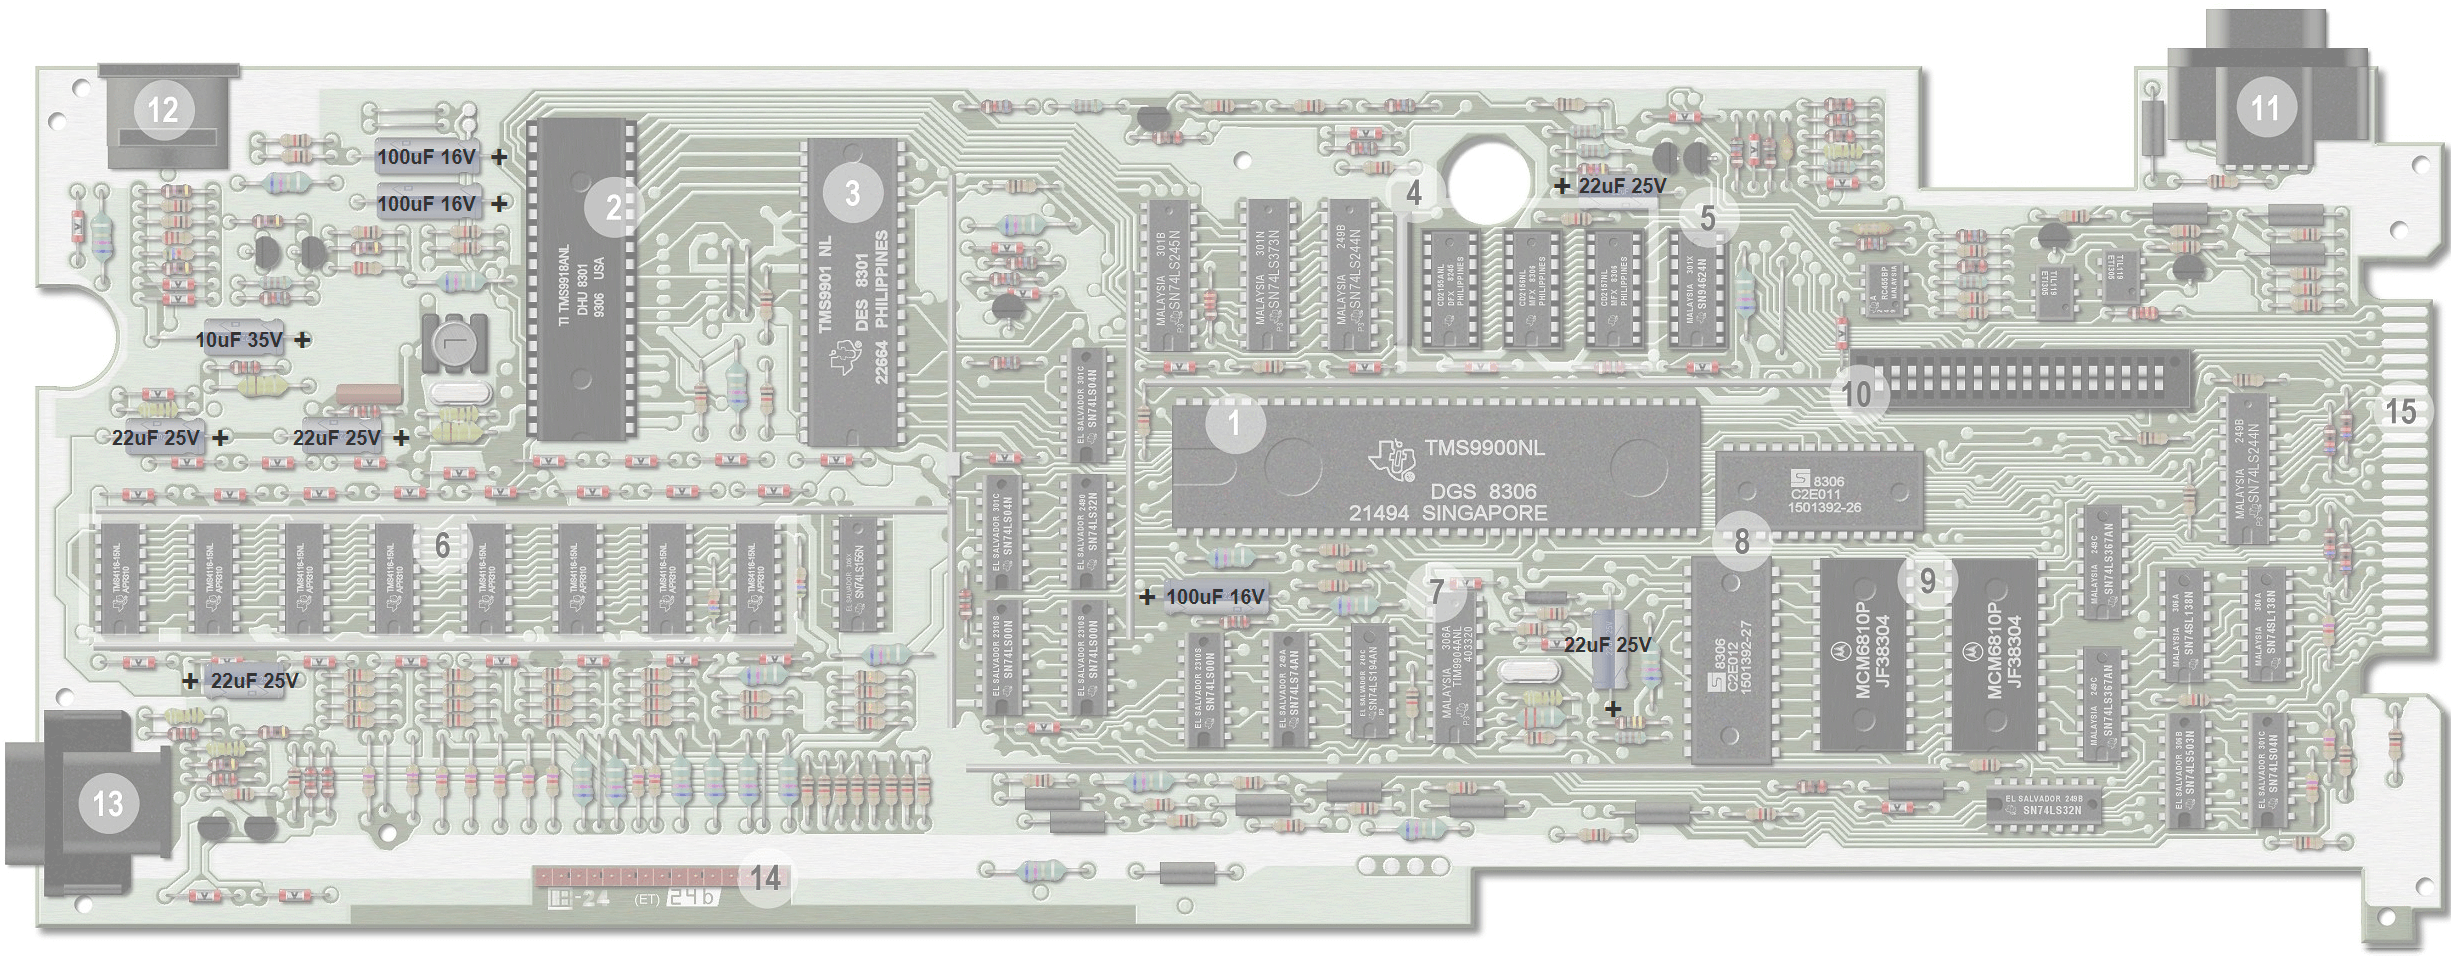
Here is the BOM (Bill of materials) for this board:
- 10uF 35V X 1
- 22uF 25V X 5
- 100uF 16V X 3
Here is a global view component side of what we need to replace and the values:
Take your best desoldering pump and remove all the mentioned capacitors (yeah I know it’s a mess 😀 )
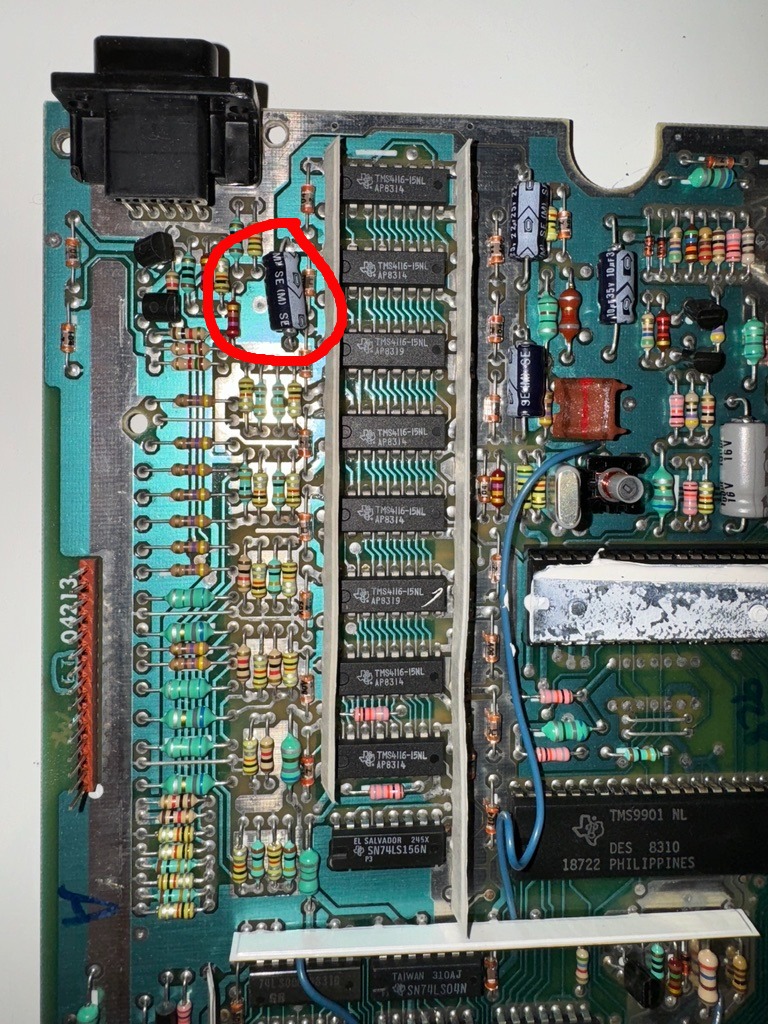
Let’s start with these (the white thing is the thermal paste of the graphic processor. You also need to change it) :

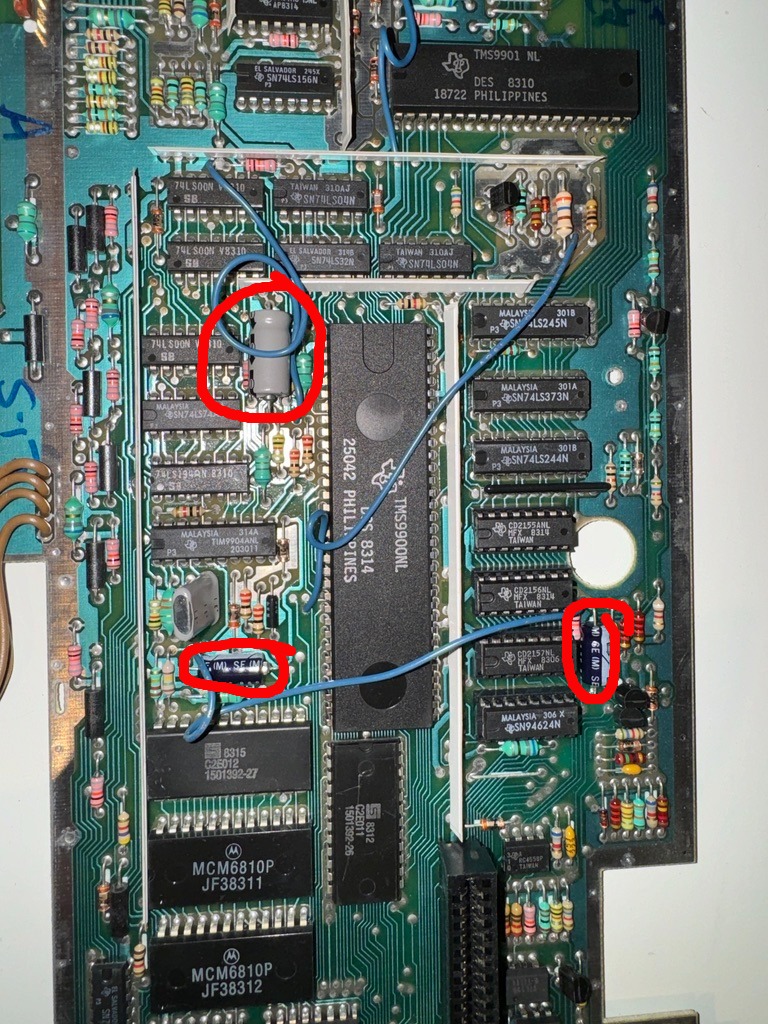
Then this one:
And the last ones:
Et voila !
This is what it looks like with all the electrolytic capacitors replaced:
Now it’s time to test the board. But before that, double-check all the capacitor’s polarity.